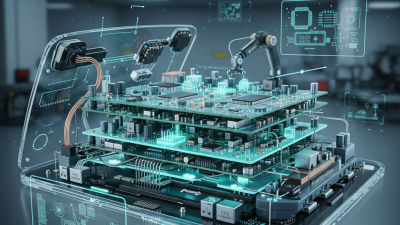
How to Start PCB Prototyping for Your Electronics Projects?
PCB prototyping is an essential step in bringing your electronics projects to life. Whether you're a seasoned engineer or a hobbyist, understanding the basics of this process is crucial. Many struggle with the initial stages of designing printed circuit boards. They often overlook key details that can lead to major issues later on.
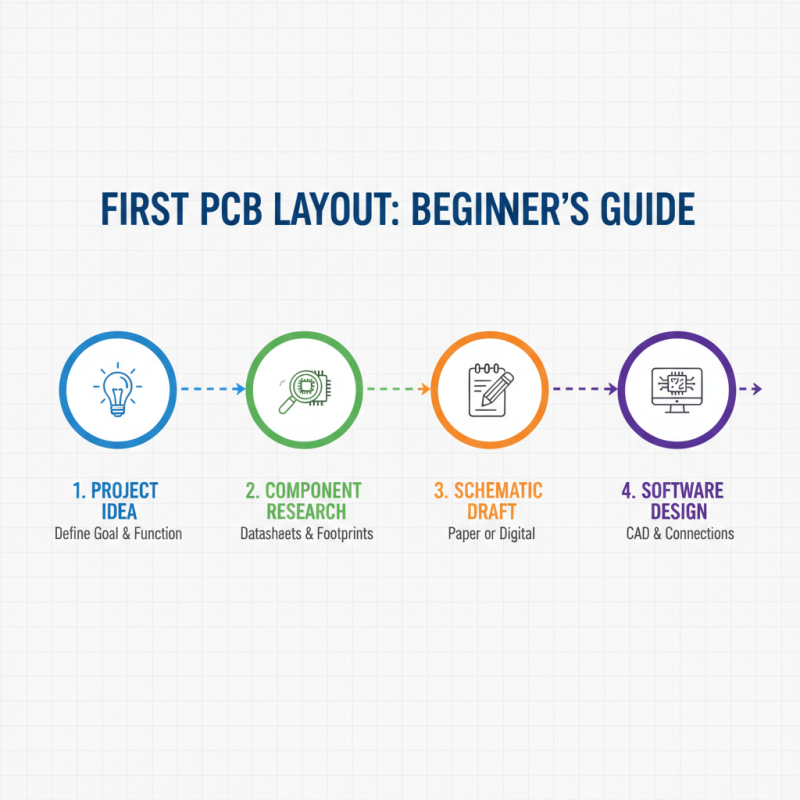
When starting with PCB prototyping, consider your design requirements. Each project is unique, and the layout significantly affects functionality. Sketch out your ideas to visualize the connections. Using software can help, but remember, mistakes in design will become clear only when you see the prototype. This aspect can be frustrating, but it also offers a chance for improvement.
Prototyping serves as a valuable learning experience. You might face challenges that test your skills and knowledge. Don't shy away from making mistakes. Each board that doesn’t work teaches you something new. Reflecting on errors is vital for growth. PCB prototyping isn't just about creating boards; it's also about refining your approach and acquiring new insights.
Understanding the Basics of PCB Prototyping for Electronics Projects
PCB prototyping is crucial for any electronics project. Understanding its basics can save time and resources. According to industry reports, 70% of electronic designs face revisions during the prototyping phase. This makes it essential to grasp key elements of PCB design and fabrication.
Designing a PCB involves several steps. You start with creating a schematic diagram, which outlines electrical connections. Next, you transition to PCB layout. This is where you position components and trace the connections. Reports indicate that 50% of design errors stem from layout mistakes. Careful attention to detail can help mitigate these common issues.
After designing, selecting a prototyping method is vital. Options range from DIY methods to professional fabrication services. Each has its pros and cons. Some makers prefer doing it themselves, only to realize the limitations of hobbyist equipment. Others may overlook costs associated with professional services. The choice influences both time and quality of the end product. Making an informed decision is essential for a successful prototype.
Choosing the Right PCB Design Software for Your Needs
Choosing the right PCB design software is crucial for your electronics projects. There are many options available, each with unique features. Some software focus on ease of use, while others offer advanced tools for experienced designers. It can be hard to find the perfect fit for your skills and needs.
When selecting software, consider your project size and complexity. If you are starting with simple designs, choose something user-friendly with tutorials. On the other hand, for complex projects, advanced tools can be beneficial. Think about the learning curve, as some programs demand more time to master. It may be frustrating initially to navigate through layers and components.
Another important aspect is compatibility with hardware tools. Ensure that the software can export files easily for manufacturing. This step can be tricky if the formats don’t align. Pay attention to the feedback from the community as well. Reviews often highlight strengths and weaknesses that can guide your choice. Trial versions can help you assess usability, but they might not show the complete picture. Be prepared to explore multiple options before settling on one that feels right.
PCB Design Software Popularity by User Preference
Selecting Materials and Components for Your PCB Prototype
Selecting the right materials and components is crucial for PCB prototyping. The base material, usually FR-4, is popular for its durability and thermal properties. However, consider alternatives like flexible materials for specific applications. Think about the environment where your PCB will operate. High temperatures or humidity can impact the choice of materials significantly.
Choosing components is equally important. Ensure that resistors, capacitors, and ICs meet the project's voltage and current requirements. Analyze the size of each component, especially for compact designs. Sourcing can be tricky. Look for distributors with a good reputation. Sometimes, components may be out of stock, leading to project delays.
Don't be afraid to prototype multiple versions. Testing different materials and components can provide insights. You might discover that your initial choices aren't optimal. Reflect on the performance of each design. Gathering feedback from peers can lead to improvements. Embrace the iterative process; it's part of learning.
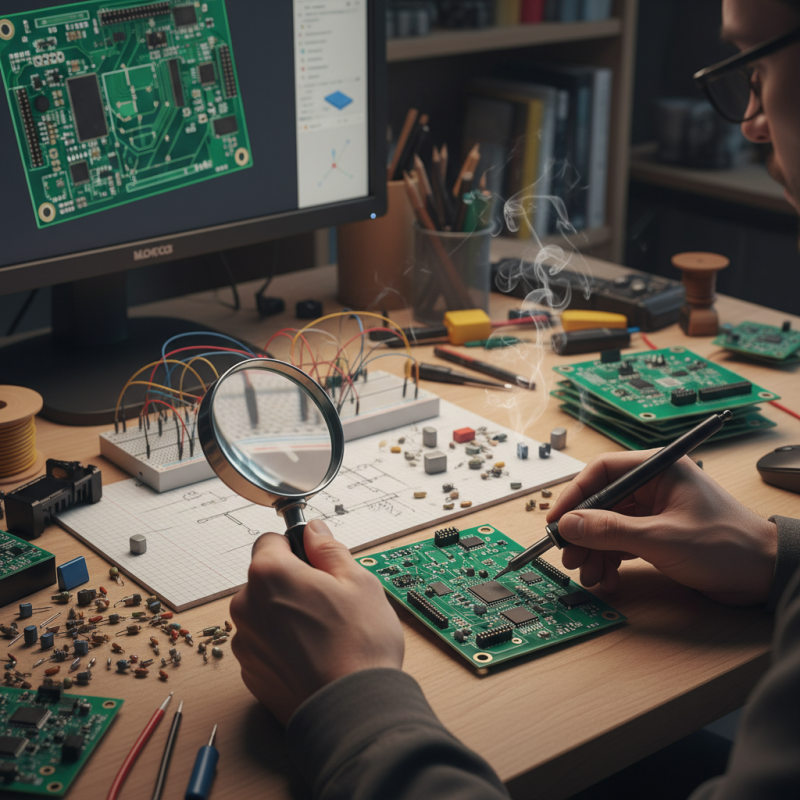
Testing and Iterating Your PCB Prototype for Best Results
When testing and iterating your PCB prototype, you must focus on both functionality and performance. A study revealed that nearly 70% of PCBs encounter issues during the prototyping phase. This highlights the significance of rigorous testing. Start by performing electrical tests. These tests help identify short circuits, opens, and other failures early on. Use a multimeter to check the connections. It might seem tedious, but this step is crucial for reliable designs.
Thermal testing is another critical aspect. Overheating can lead to device failure. Ensure your components can handle the heat generated during operation. Inadequate thermal management is a frequent oversight. Statistics show that up to 50% of prototype failures can be attributed to thermal issues. Consider using thermal imaging cameras for a detailed analysis. This method may uncover problems you didn’t expect, helping you fine-tune your design.
Iterating your design based on test results can be challenging. Sometimes, you may need to reevaluate your component selections. Changes might seem minor but can lead to substantial improvements. Create a feedback loop to incorporate all findings. Remember, testing isn't just to validate; it's about continuous improvement. Embrace the imperfections. Learning from failures can offer insights that lead to better-quality prototypes over time.
How to Start PCB Prototyping for Your Electronics Projects?
Testing and Iterating Your PCB Prototype for Best Results
| Testing Method |
Description |
Tools Required |
Iteration Tips |
| Visual Inspection |
Check for any visible defects or soldering issues. |
Magnifying Glass, Bright Light |
Use a reference image of a good prototype. |
| Functional Testing |
Test the circuit for expected performance. |
Multimeter, Power Supply |
Document any deviations from expected results. |
| Thermal Imaging |
Identify overheating components using thermal camera. |
Thermal Camera |
Adjust component placement to improve heat dissipation. |
| Signal Integrity Testing |
Check for signal degradation or reflections. |
Oscilloscope, Signal Generator |
Optimize PCB layout for shorter traces. |
| Durability Testing |
Simulate environmental stress to assess resilience. |
Environmental Chamber, Load Testing Equipment |
Iterate design based on failure points. |